Package Overview What this trip is, in a nutshell
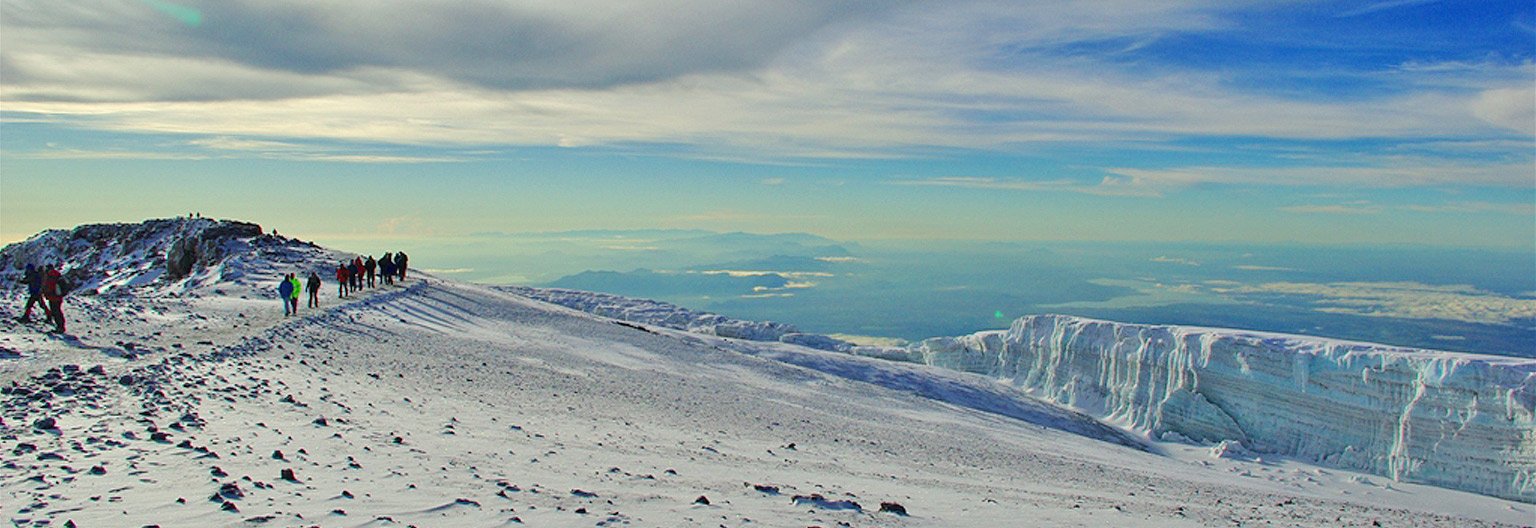
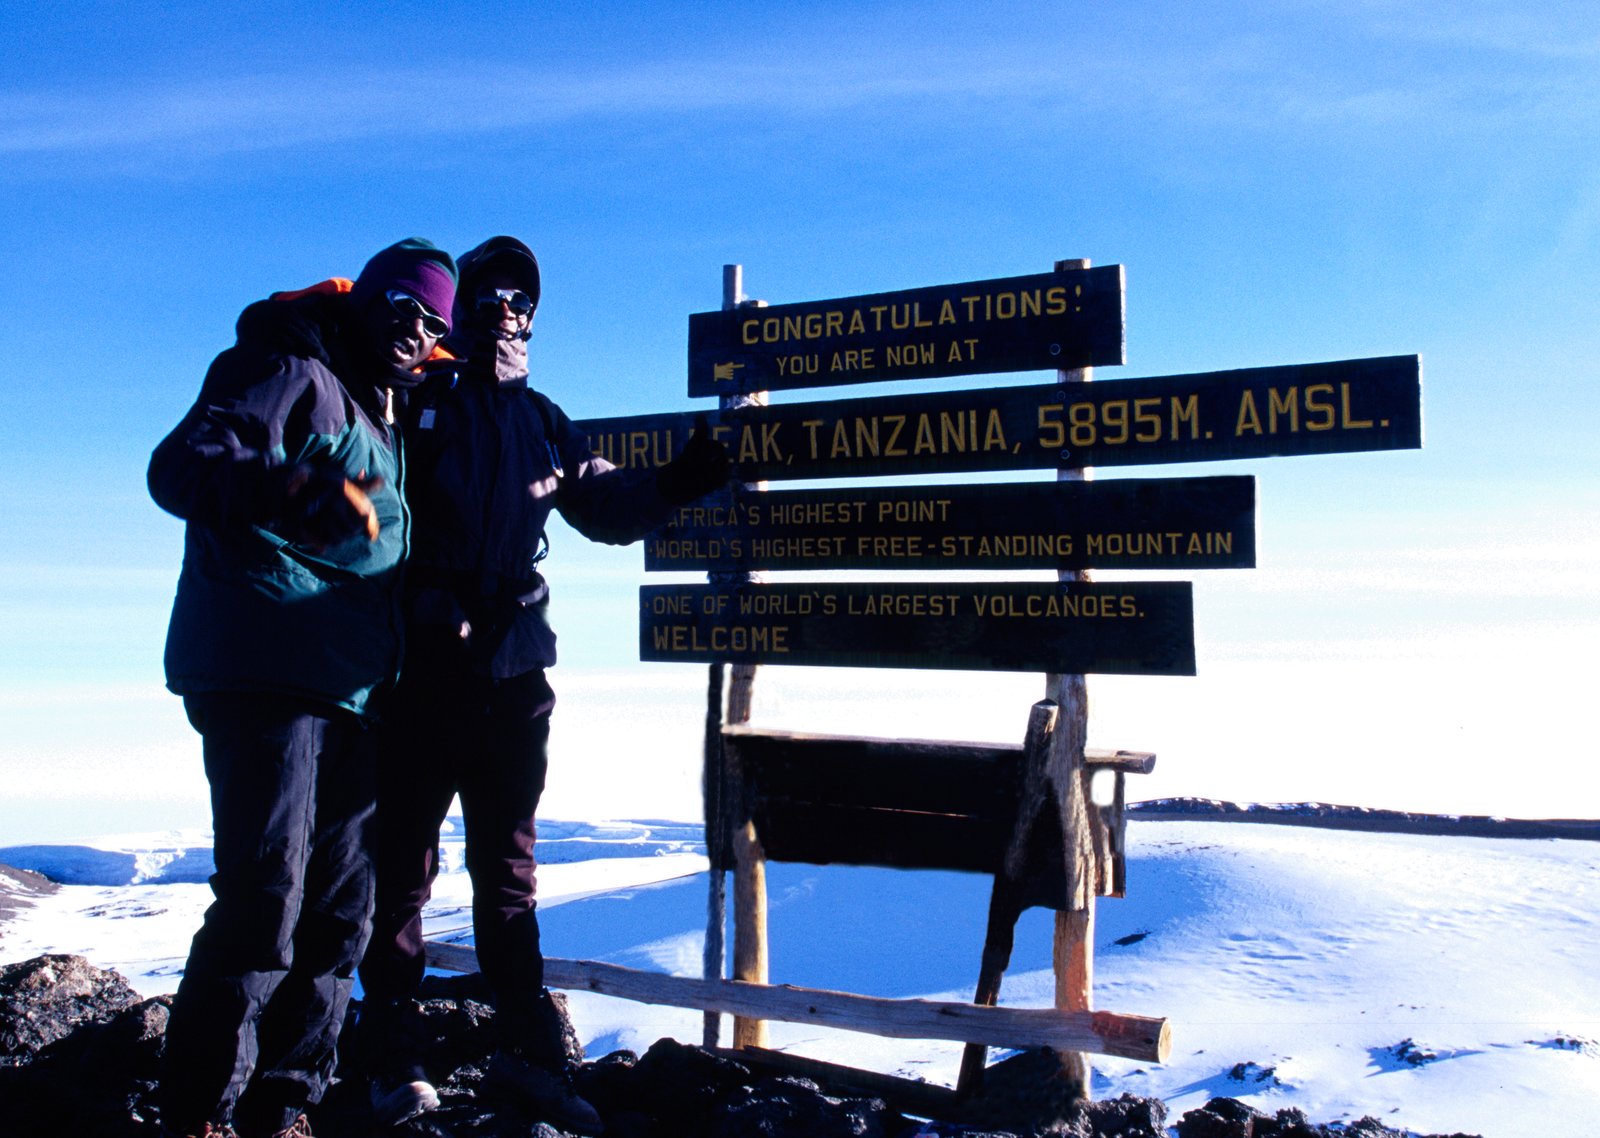
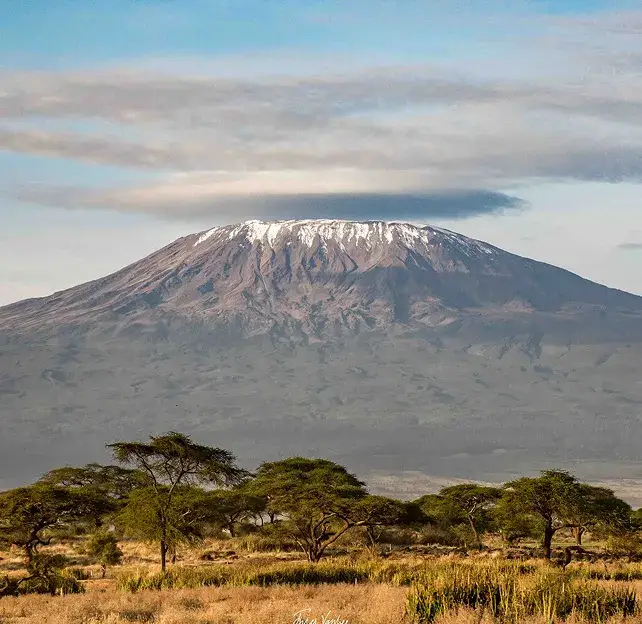
This seven-day private Lemosho trek approaches Mount Kilimanjaro from the quieter western side, beginning in montane forest before crossing the broad Shira Plateau, traversing the alpine desert and joining the Southern Circuit beneath Kibo. The route culminates in a pre-dawn summit attempt toward Stella Point and Uhuru Peak at 5,895 m, followed by a long descent through increasingly green ecological zones to Mweka Gate.
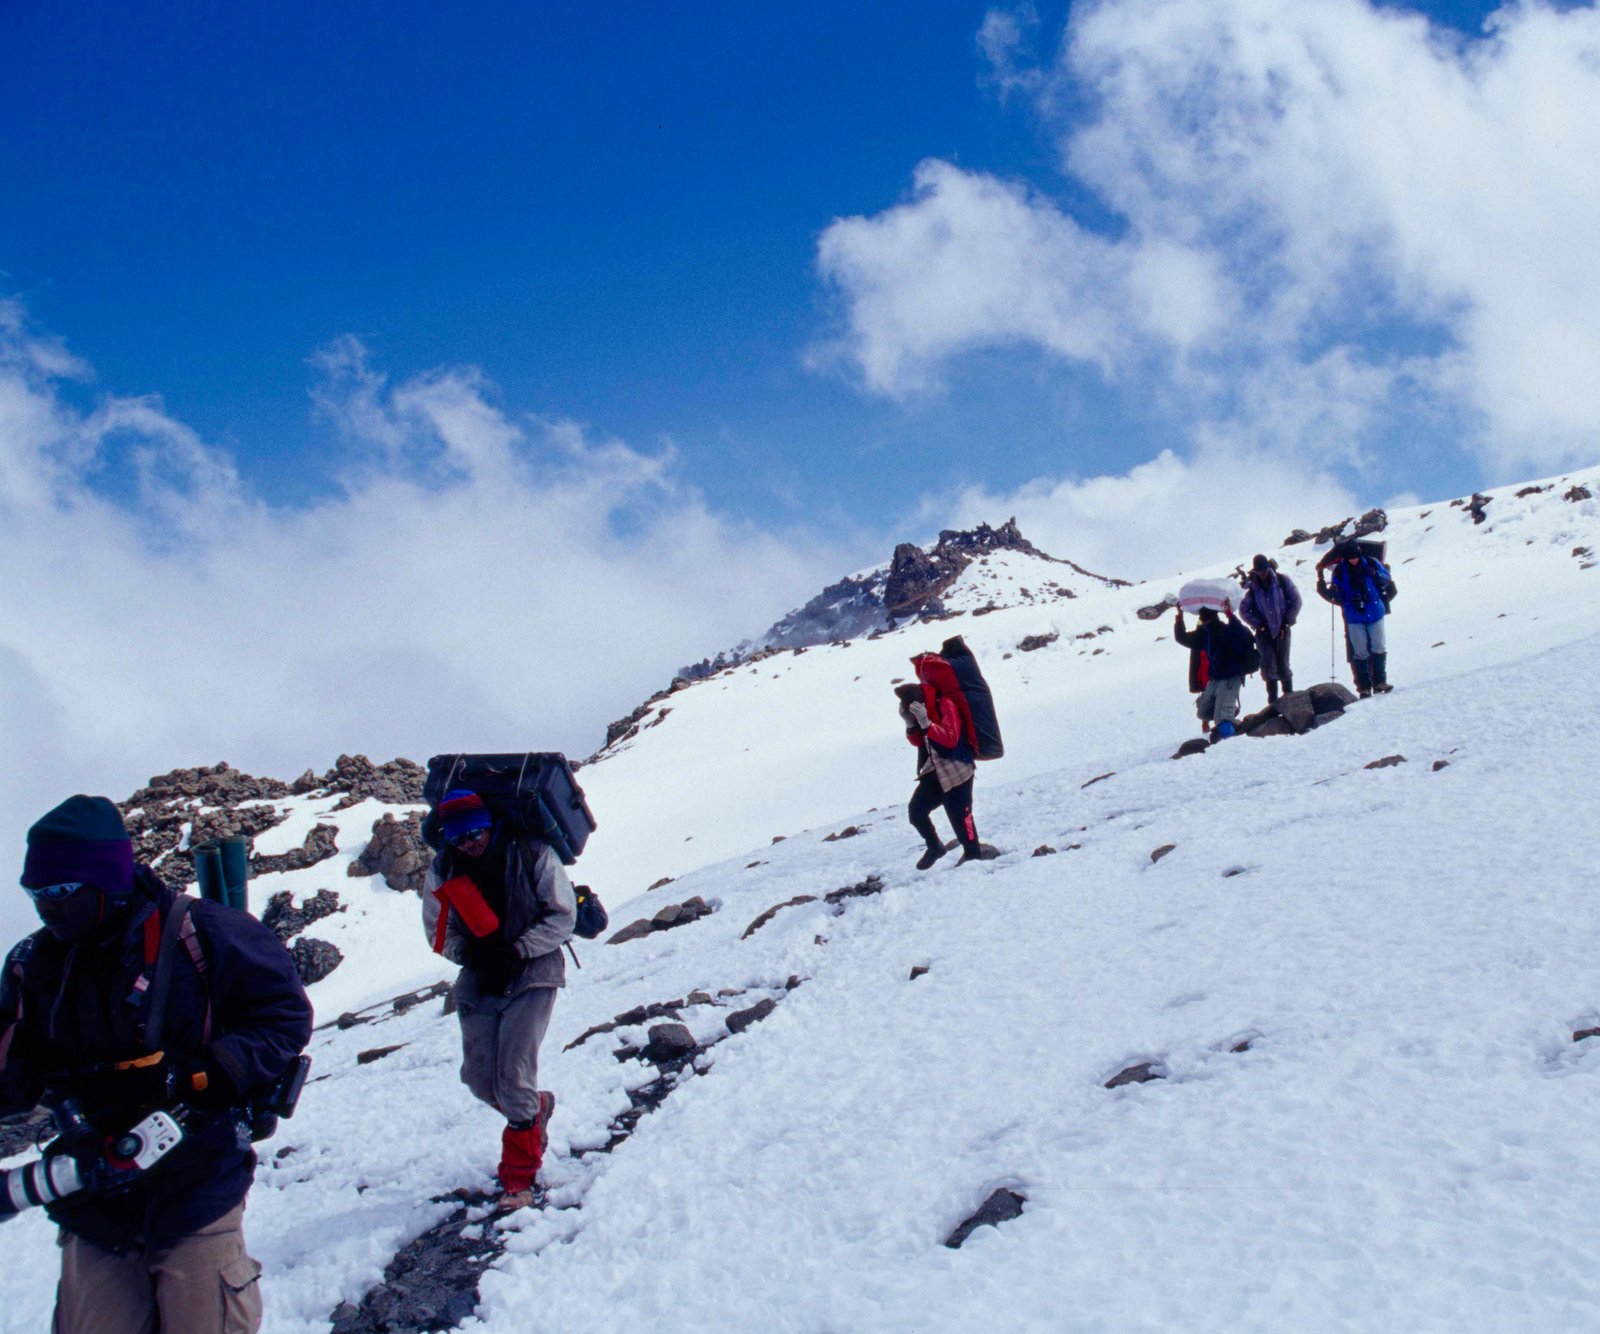
The experience is built around a dedicated mountain team: professional guides, porters and a cook, supported camping equipment, park and rescue fees, drinking water, meals on the mountain and private road transfers. The private format allows the lead guide to manage pace, breaks and the daily briefing around your group rather than a mixed public departure.
Summit success can never be guaranteed. Weather, altitude response, fitness, trail conditions and the safety decisions of your guide all matter, and turning around is always an acceptable and responsible outcome. Fitness does not eliminate altitude-illness risk; symptoms must be reported promptly and descent accepted when advised.
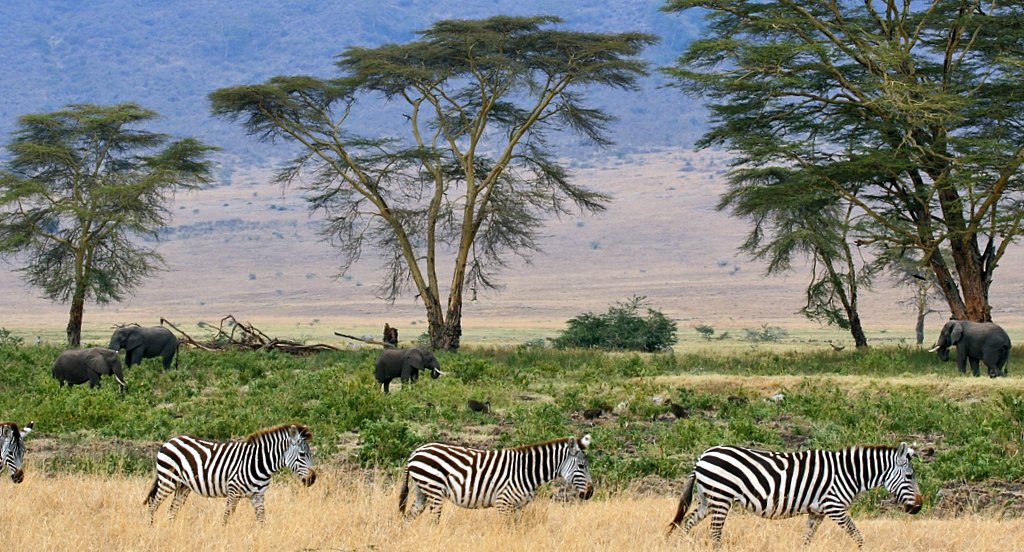
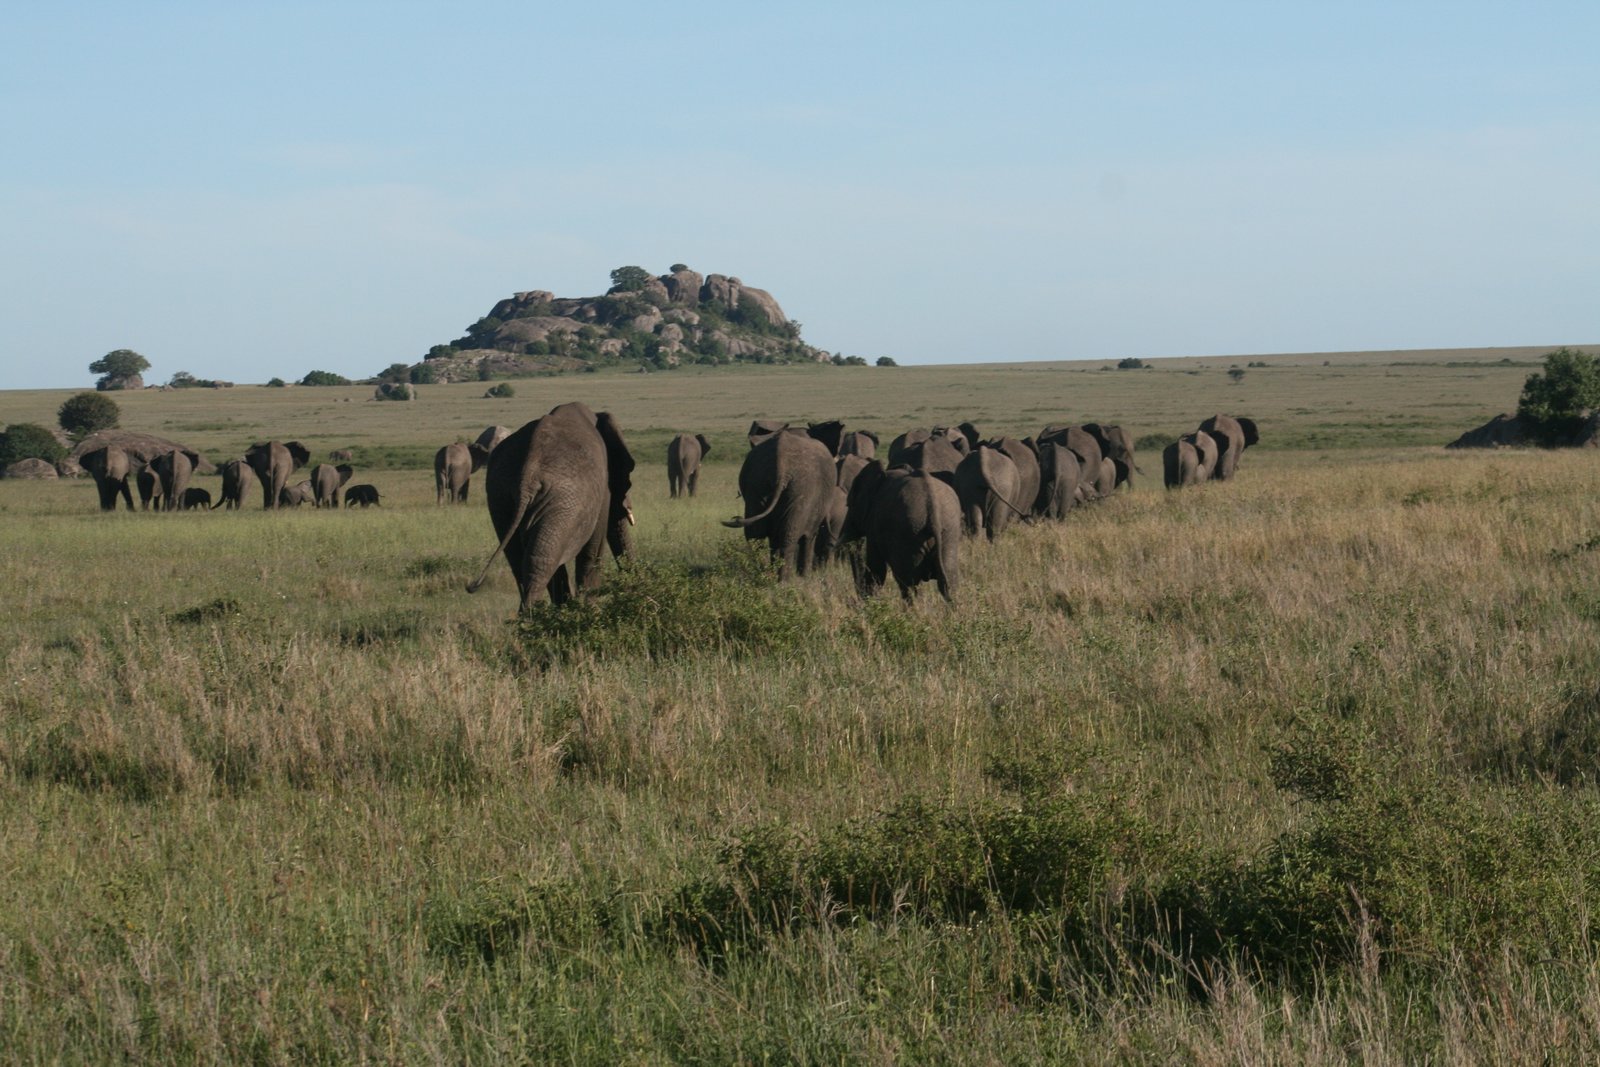
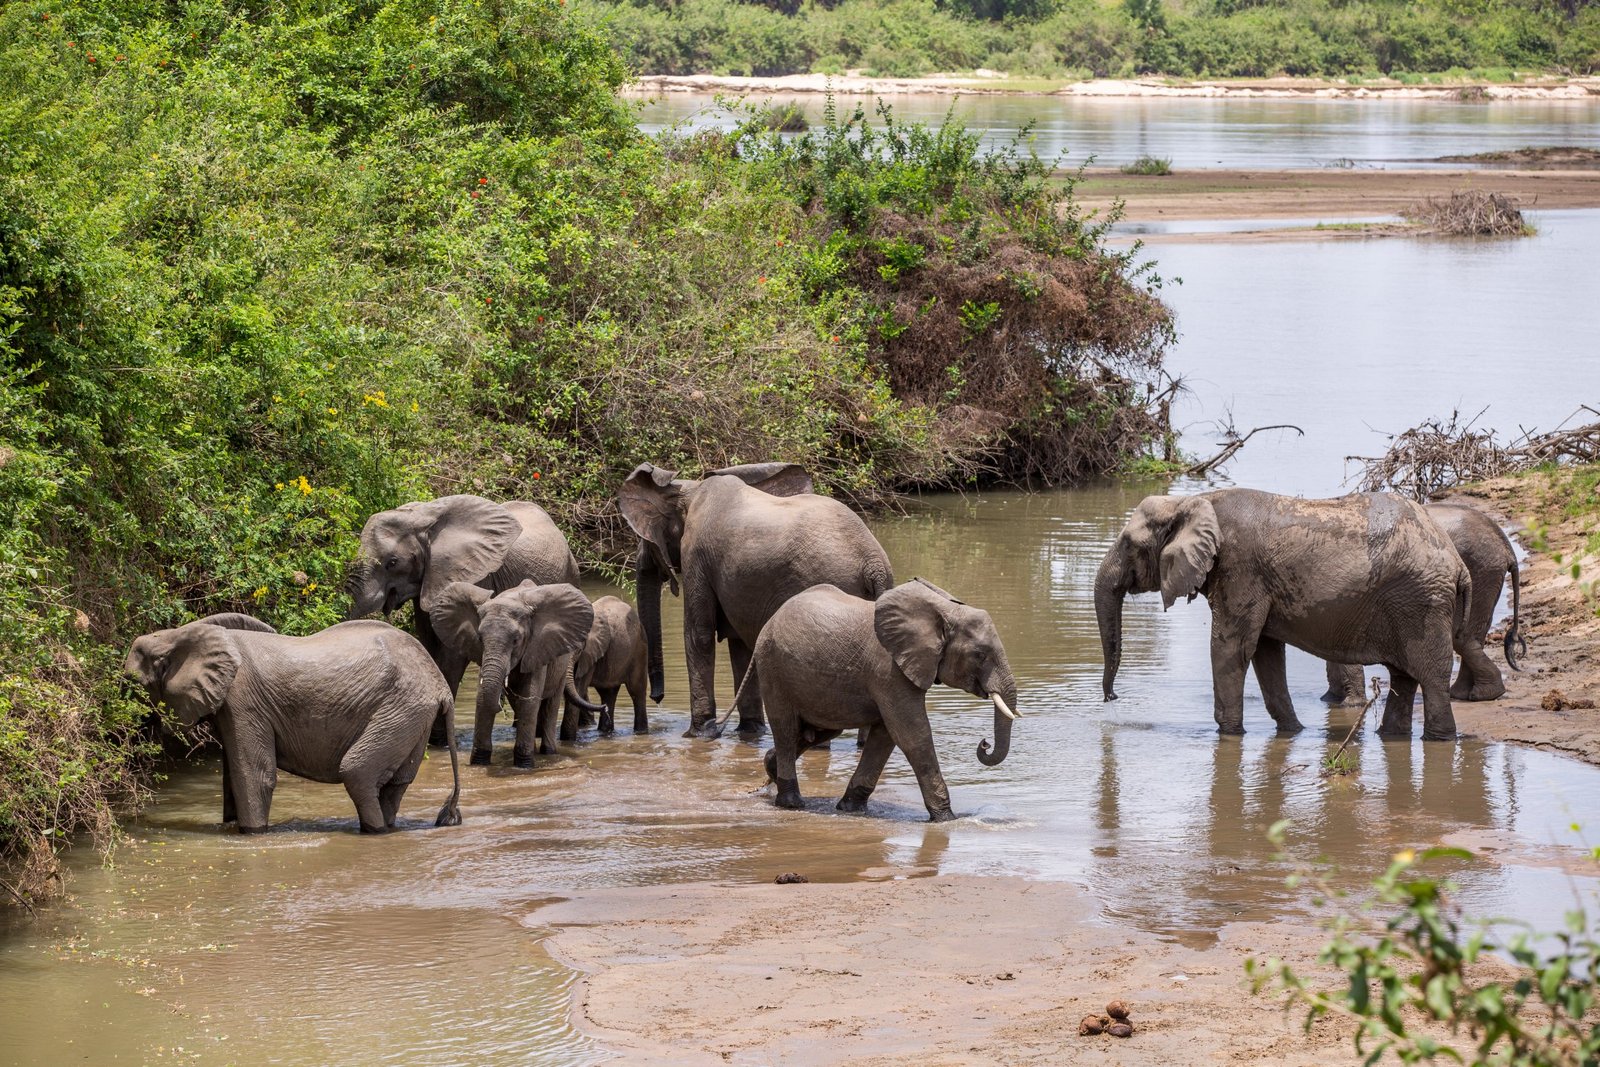
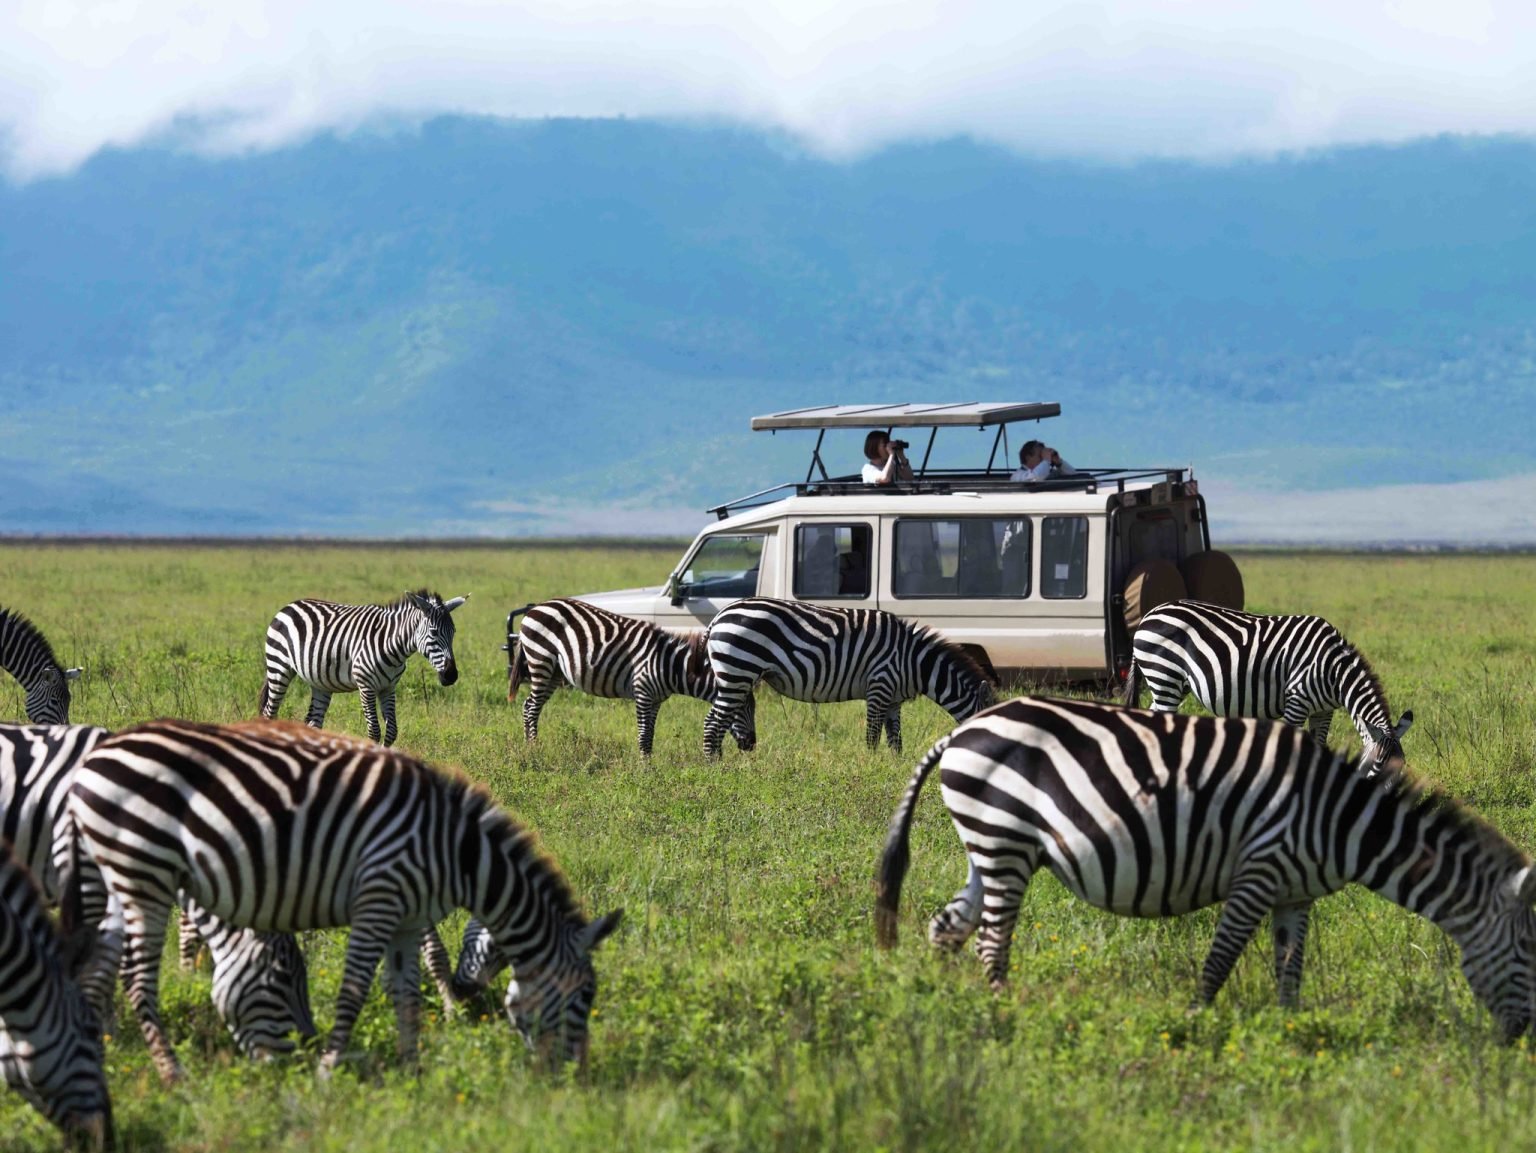
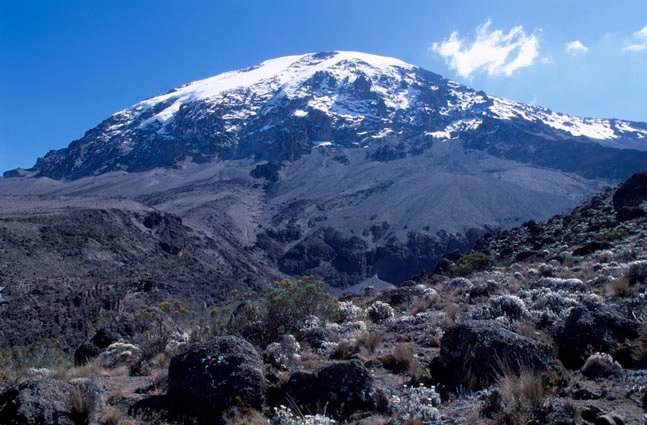
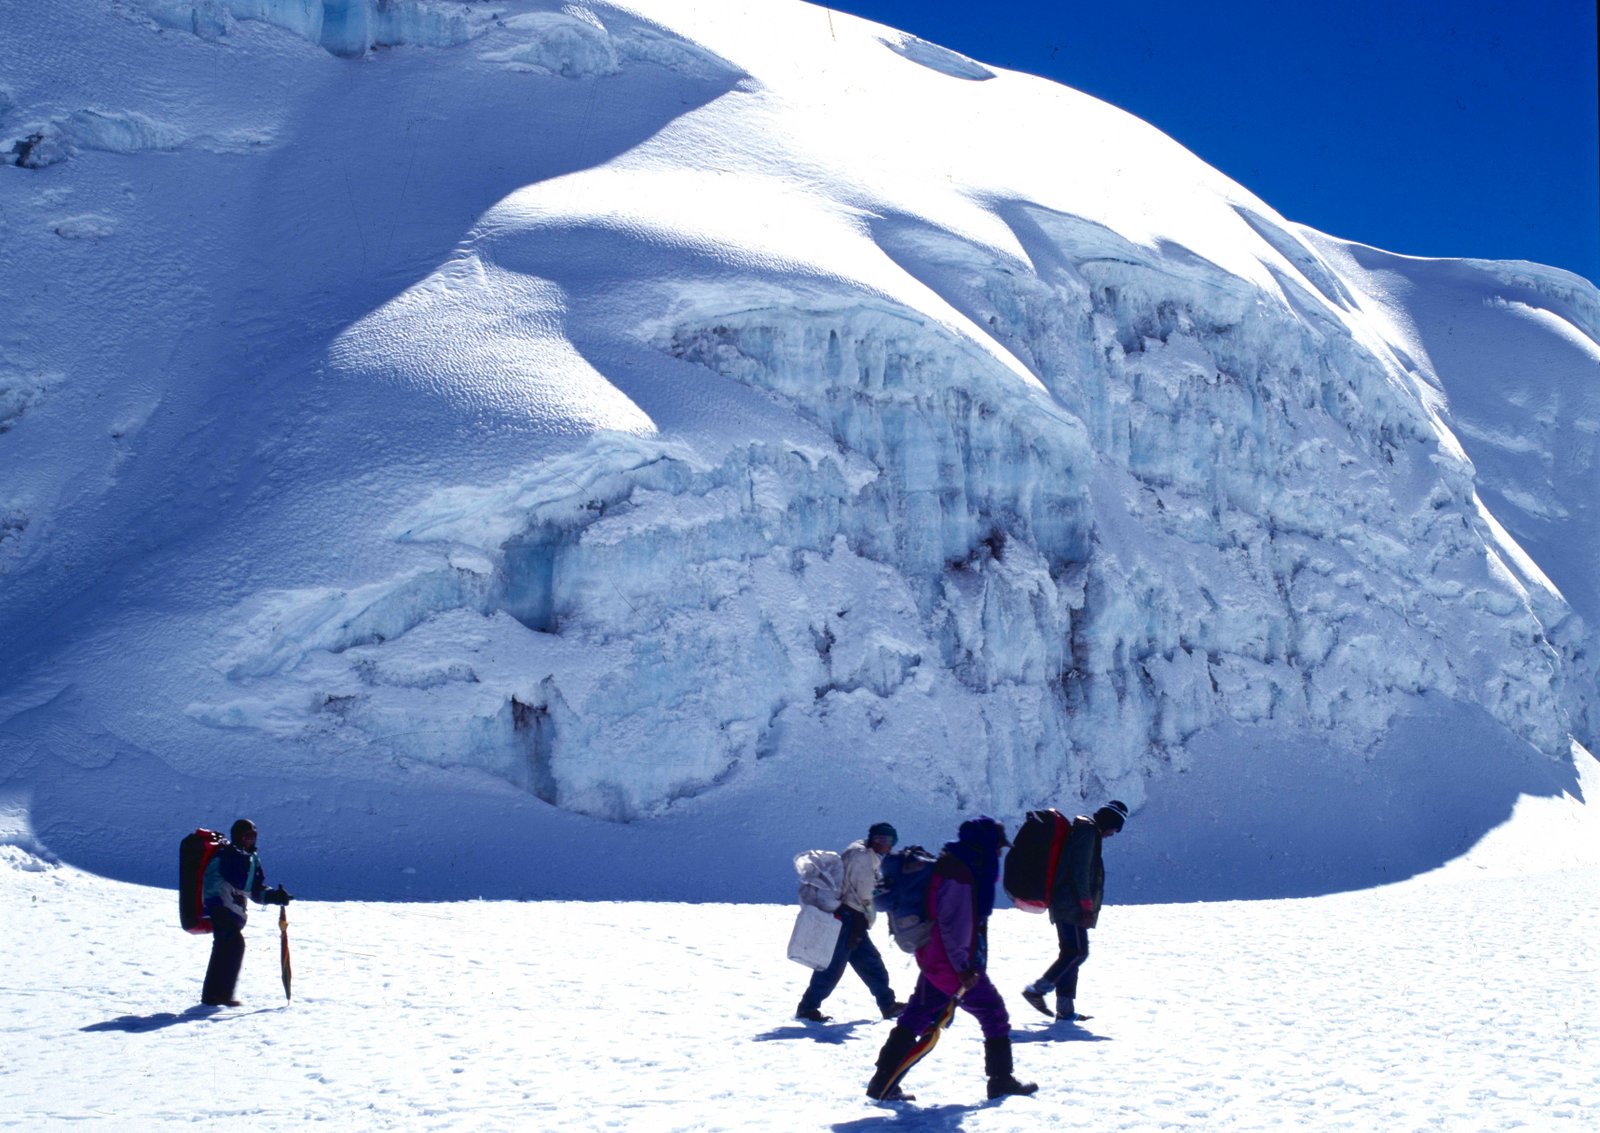
The Lemosho corridor is especially rewarding for landscape variety: rainforest, giant heather, volcanic ridges, the ancient Shira caldera, Lava Tower, the Barranco Wall, glacial summit scenery and the southern slopes. Wildlife is not the main purpose of the climb, although monkeys, birds and small mountain fauna may occasionally be encountered in the lower zones.
The package keeps a supported-camping structure rather than introducing expensive hut or lodge nights that do not exist along this route, while strengthening planning, safety communication, private-team service and pre-departure preparation. Travellers wanting extra acclimatization should strongly consider adding a pre-climb highland acclimatization day or upgrading to an eight-day Lemosho schedule.
On Kilimanjaro, accommodation means designated public campsites rather than lodges. The alternative camps noted in this itinerary are route-planning options, not interchangeable hotel substitutions; any change can alter walking distance, altitude gain and safety considerations.
Package Summary Everything at a glance
| Item | Package detail |
|---|---|
| Duration | 7 Days / 6 Nights |
| Safari type | Private |
| Comfort level | Budget |
| Starting point | Arusha |
| Ending point | Arusha or Kilimanjaro International Airport |
| Main destinations | Kilimanjaro |
| Accommodation type | Camping (Tented Camp) |
| Meal plan | Lunch, Dinner, Breakfast, Lunch, Dinner, Breakfast, Lunch |
| Transportation | Private Car, On Foot |
| Suitable travellers | Friends, Sole travellers, Couples and small groups |
| Customization | Yes — this itinerary can be tailored to you |
Route Overview 7 days — where you go and how far
| Day | Route | Overnight | Approx. distance | Approx. time | Transport |
|---|---|---|---|---|---|
| Day 1 | Arusha → Londorossi Gate, rough-road trailhead transfer, montane forest → Mti Mkubwa Camp | Kilimanjaro | Approx. 120 km to Londorossi plus approx. 12 km rough-road transfer; trek approx | Road approx. 2.5-3 hours; trek approx. 3-4 hours after registration and lunch | Private Car |
| Day 2 | Mti Mkubwa Camp → Heather and open moorland, volcanic outcrops, western Shira Plateau → Shira 1 Camp | Kilimanjaro | Approx. 8 km. Altitude ~2,850 m to ~3,500 m | Approx. 5-6 hours trekking | On Foot |
| Day 3 | Shira 1 Camp → Shira 2 area, upper western slopes, eroded volcanic ridges → Moir Hut Camp | Kilimanjaro | Approx. 14 km. Altitude ~3,500 m to ~4,150-4,200 m | Approx. 6-8 hours trekking | On Foot |
| Day 4 | Moir Hut → Alpine desert, Lava Tower, glacial valleys, Barranco Valley → Barranco Camp | Kilimanjaro | Approx. 12-14 km. Altitude ~4,200 m to Lava Tower ~4,600 m, sleeping ~3,950-4,00 | Approx. 6-8 hours trekking | On Foot |
| Day 5 | Barranco Camp → The Barranco Wall, Karanga Valley, rocky ridges and high alpine desert → Barafu Camp | Kilimanjaro | Approx. 9-11 km. Altitude ~3,950 m to Karanga ~4,000 m to Barafu ~4,670 m | Approx. 7-9 hours including the Barranco Wall and Karanga breaks | On Foot |
| Day 6 | Barafu Camp → Scree slopes, Stella Point, the crater rim, Uhuru Peak, back through Barafu to Mweka → Mweka Camp | Kilimanjaro | Approx. 16-17 km total. Altitude ~4,670 m to Stella Point ~5,685 m to Uhuru Peak | Approx. 12-16 hours total | On Foot |
| Day 7 | Mweka Camp → Montane forest, Mweka Gate, cultivated foothills, the Arusha road corridor → Arusha or the airport by arrangement | No accommodation — departure day | Trek approx. 10 km; road approx. 90 km from Mweka Gate to Arusha. Altitude ~3,10 | Approx. 3-4 hours hiking plus approx. 2.5-3 hours road transfer | Private Car |
Distances and driving times are indicative and vary with road and game-viewing conditions.
Day 1 Arusha to the Western Forest - Londorossi to Mti Mkubwa
Day 1 — Arusha to the Western Forest - Londorossi to Mti Mkubwa
| Starting location | Arusha |
|---|---|
| Pass-by location | Londorossi Gate, rough-road trailhead transfer, montane forest |
| Ending location | Mti Mkubwa Camp |
| Main destination | Mount Kilimanjaro - Western Forest Zone |
| Approx. departure | Around 07:30 |
| Approx. arrival at lodge | Camp around 16:00-17:00 |
| Approx. distance | Approx. 120 km to Londorossi plus approx. 12 km rough-road transfer; trek approx |
| Approx. road-driving duration | Road approx. 2.5-3 hours; trek approx. 3-4 hours after registration and lunch |
| Transport | Private Car |
Day description
The long drive west to Londorossi Gate, registration and porter organization, a rough-road transfer to the trailhead, then a first steady climb beneath dense montane forest.
Morning
After breakfast, meet the mountain team and drive west toward Londorossi Gate for the gear check, registration and team organization. Registration and porter organization can take time.
Afternoon
Lunch near the trailhead or as arranged, followed by a steady forest ascent at an intentionally conservative pace. Continue through humid forest to camp - lower-zone wildlife such as colobus or blue monkeys may occasionally be seen, but sightings are not guaranteed.
Evening
Dinner, hydration check, guide briefing and preparation for the higher Shira Plateau.
Landscapes & attractions
Wildlife possibilities
Photography opportunities
Read about where you are
Meals
Mti Mkubwa Camp
About this stay
A designated campsite in the Kilimanjaro forest zone - the natural first Lemosho staging camp after gate formalities and the forest ascent. Shira 1 or Shira 2 only with a formal route redesign; there is no like-for-like lodge substitute on this trail.
Keep rain shell, warm layer and water in your daypack; the porter duffel is not normally accessible while walking. A pre-climb hotel upgrade in Arusha, or a separate acclimatization walk the day before departure, can be arranged.
Day 2 Forest Edge to Shira Plateau
Day 2 — Forest Edge to Shira Plateau
| Starting location | Mti Mkubwa Camp |
|---|---|
| Pass-by location | Heather and open moorland, volcanic outcrops, western Shira Plateau |
| Ending location | Shira 1 Camp |
| Main destination | Shira Plateau, Mount Kilimanjaro |
| Approx. departure | Around 08:00 |
| Approx. arrival at lodge | Around 14:00-15:30 |
| Approx. distance | Approx. 8 km. Altitude ~2,850 m to ~3,500 m |
| Approx. road-driving duration | Approx. 5-6 hours trekking |
| Transport | On Foot |
Day description
Out of the forest into heath and moorland, with volcanic ridges and broadening views, onto the Shira Plateau - a meaningful gain in sleeping altitude.
Morning
Climb through heather and open moorland with regular water and rest stops. The gain in sleeping altitude is meaningful, so your guide will maintain a measured pace and monitor how the group is feeling.
Afternoon
Lunch on the trail or at camp depending on pace and weather, then cross onto the Shira Plateau and settle into camp. An easy acclimatization walk may be offered if conditions and energy levels permit.
Evening
Dinner and health briefing. Temperatures can fall sharply after sunset.
Landscapes & attractions
Wildlife possibilities
Photography opportunities
Read about where you are
Meals
Shira 1 Camp
About this stay
A designated campsite on the western Shira Plateau - a logical altitude progression with plateau access. Shira 2 Camp or Moir Hut only under a revised stage plan, approved by the guide and park logistics.
Headache, nausea, unusual fatigue or poor coordination must be reported immediately. Do not hide symptoms to protect a summit plan.
Day 3 Across Shira to Remote Moir Hut
Day 3 — Across Shira to Remote Moir Hut
| Starting location | Shira 1 Camp |
|---|---|
| Pass-by location | Shira 2 area, upper western slopes, eroded volcanic ridges |
| Ending location | Moir Hut Camp |
| Main destination | Shira Plateau And The Western Kibo Flank |
| Approx. departure | Around 07:30 |
| Approx. arrival at lodge | Around 15:00-16:30 |
| Approx. distance | Approx. 14 km. Altitude ~3,500 m to ~4,150-4,200 m |
| Approx. road-driving duration | Approx. 6-8 hours trekking |
| Transport | On Foot |
Day description
A longer day crossing the high plateau toward Kibo, exposed to wind and sun, ending at a quieter high-altitude camp where the sleeping altitude matters.
Morning
Traverse the plateau toward Shira 2 and the upper western slopes. The route can feel exposed to wind and sun, and the higher sleeping altitude makes a conservative pace and symptom monitoring particularly important.
Afternoon
Lunch en route with extended rest if needed, then continue toward Moir Hut, a quieter high-altitude camp area. Depending on arrival time, your guide may recommend rest rather than an extra acclimatization walk.
Evening
Early dinner, hydration and a careful altitude check before the Lava Tower traverse tomorrow.
Landscapes & attractions
Wildlife possibilities
Photography opportunities
Read about where you are
Meals
Moir Hut Camp
About this stay
A designated campsite on the high western side of Kilimanjaro - a quieter high-altitude stage before the Lava Tower traverse. Shira 2 Camp or Barranco Camp only with a materially different itinerary and safety review.
This is a high sleeping night. The safety decision of your guide overrides itinerary ambition if symptoms are concerning. Travellers wanting more acclimatization time should consider the eight-day Lemosho itinerary instead.
Day 4 Lava Tower Acclimatization Traverse to Barranco
Day 4 — Lava Tower Acclimatization Traverse to Barranco
| Starting location | Moir Hut |
|---|---|
| Pass-by location | Alpine desert, Lava Tower, glacial valleys, Barranco Valley |
| Ending location | Barranco Camp |
| Main destination | Alpine Desert, Lava Tower And The Southern Circuit |
| Approx. departure | Around 07:30 |
| Approx. arrival at lodge | Around 15:30-17:00 |
| Approx. distance | Approx. 12-14 km. Altitude ~4,200 m to Lava Tower ~4,600 m, sleeping ~3,950-4,00 |
| Approx. road-driving duration | Approx. 6-8 hours trekking |
| Transport | On Foot |
Day description
The classic climb-high, sleep-lower day: up through stark alpine terrain to roughly 4,600 m at Lava Tower, then down into the Barranco Valley to sleep some 600 m lower.
Morning
A gradual ascent across alpine desert toward Lava Tower with deliberate pacing. Reaching a higher point during the day and sleeping lower can support acclimatization, although individual response remains unpredictable.
Afternoon
Lunch and rest near the Lava Tower area, weather permitting, then descend into the Barranco Valley where giant senecios and other high-altitude vegetation reappear around the camp.
Evening
Dinner beneath the Barranco Wall and a briefing for the scramble tomorrow morning.
Landscapes & attractions
Wildlife possibilities
Photography opportunities
Read about where you are
Meals
Barranco Camp
About this stay
A designated campsite on the Southern Circuit below the Barranco Wall - it places you at the base of the wall for the next morning and follows a useful high-low traverse. Karanga Camp or Shira 2 only as part of a different route schedule.
The Barranco descent can be cold and windy; keep gloves and a warm layer accessible even if the morning starts sunny. A private toilet tent is available where pre-arranged.
Day 5 Barranco Wall, Karanga Valley and Barafu High Camp
Day 5 — Barranco Wall, Karanga Valley and Barafu High Camp
| Starting location | Barranco Camp |
|---|---|
| Pass-by location | The Barranco Wall, Karanga Valley, rocky ridges and high alpine desert |
| Ending location | Barafu Camp |
| Main destination | Southern Circuit High Camps |
| Approx. departure | Around 07:00-07:30 |
| Approx. arrival at lodge | Around 15:30-17:00 |
| Approx. distance | Approx. 9-11 km. Altitude ~3,950 m to Karanga ~4,000 m to Barafu ~4,670 m |
| Approx. road-driving duration | Approx. 7-9 hours including the Barranco Wall and Karanga breaks |
| Transport | On Foot |
Day description
A demanding pre-summit day: the Barranco Wall scramble, undulating valleys to Karanga, then the climb into the exposed high camp at Barafu with enough daylight left to eat, organise and rest.
Morning
Climb the Barranco Wall, using hands for balance on some rocky sections - it is a scramble rather than technical rock climbing under normal route conditions.
Afternoon
Cross to Karanga for lunch or an extended break and final water and logistics preparation, then ascend steadily to Barafu. Settle into camp and prepare all summit layers, headlamp, snacks and water system. Efficiency matters today: arriving with daylight to spare is what makes the midnight start workable.
Evening
Early dinner and an attempt to rest. Your guide gives the summit briefing and confirms the start time based on conditions and the group.
Landscapes & attractions
Wildlife possibilities
Photography opportunities
Read about where you are
Meals
Barafu Camp
About this stay
A designated high camp on the south-eastern approach to Kibo - the primary staging point for the pre-dawn summit attempt. Karanga Camp or an authorized alternative high-camp plan only if the itinerary is formally changed; summit logistics cannot be improvised.
Hydrate steadily but avoid overdrinking. Report any severe headache, confusion, breathlessness at rest or worsening symptoms immediately. An extra acclimatization night via an eight-day route is preferable to rushing if the group needs more time.
Day 6 Summit Night - Stella Point, Uhuru Peak and Descent to Mweka
Day 6 — Summit Night - Stella Point, Uhuru Peak and Descent to Mweka
| Starting location | Barafu Camp |
|---|---|
| Pass-by location | Scree slopes, Stella Point, the crater rim, Uhuru Peak, back through Barafu to Mweka |
| Ending location | Mweka Camp |
| Main destination | The Kibo Summit Zone And The Mweka Descent |
| Approx. departure | Usually around 23:00-00:00 |
| Approx. arrival at lodge | Mweka Camp around 15:00-17:00 |
| Approx. distance | Approx. 16-17 km total. Altitude ~4,670 m to Stella Point ~5,685 m to Uhuru Peak |
| Approx. road-driving duration | Approx. 12-16 hours total |
| Transport | On Foot |
Day description
The longest day of the trek by a wide margin: a midnight start over scree and frozen ground to the crater rim, then a descent of nearly 2,800 vertical metres to the forest edge.
Morning
Summit day begins in darkness. The ascent is slow and repetitive over scree and frozen ground toward the crater rim. Reaching Stella Point or Uhuru Peak depends on weather, altitude response, pace and the safety assessment of your guide; turning around is always an acceptable and responsible outcome. If the group is safe to continue, follow the crater rim toward Uhuru Peak - time at the top is usually brief because of cold, wind and altitude.
Afternoon
Descend to Barafu for food, fluids and a short rest, then pack remaining personal gear and continue the long descent to Mweka Camp as vegetation gradually returns.
Evening
Dinner, recovery and rest after the longest day of the trek.
Landscapes & attractions
Wildlife possibilities
Photography opportunities
Read about where you are
Meals
Mweka Camp
About this stay
A designated campsite on the Mweka descent route in the forest-edge zone - it allows recovery after summit day before the final forest descent. Millennium Camp or another designated descent camp only if guide, park and timing require a revised descent plan.
Cold injury and altitude illness are real risks. Your guide may require immediate descent even when the summit is close; safety decisions are final. Summit snacks are arranged as part of the trek provisions.
Day 7 Forest Descent, Mweka Gate and Return to Arusha
Day 7 — Forest Descent, Mweka Gate and Return to Arusha
| Starting location | Mweka Camp |
|---|---|
| Pass-by location | Montane forest, Mweka Gate, cultivated foothills, the Arusha road corridor |
| Ending location | Arusha or the airport by arrangement |
| Main destination | The Mweka Route And Arusha |
| Approx. departure | Around 08:00 |
| Approx. arrival at lodge | Gate approx. 11:00-12:00; Arusha approx. 14:00-16:00 |
| Approx. distance | Trek approx. 10 km; road approx. 90 km from Mweka Gate to Arusha. Altitude ~3,10 |
| Approx. road-driving duration | Approx. 3-4 hours hiking plus approx. 2.5-3 hours road transfer |
| Transport | Private Car |
Day description
A final descent through increasingly lush forest to Mweka Gate, park formalities and team farewells, then the private transfer back to Arusha.
Morning
Descend on a potentially wet, muddy forest trail as the vegetation thickens and the air warms.
Afternoon
Reach the gate, complete exit formalities, receive any applicable summit certificate issued by the park, and have lunch as arranged, then take the private transfer to Arusha.
Evening
End of trek. An optional hotel dinner, recovery massage or onward-travel briefing can be arranged.
Landscapes & attractions
Wildlife possibilities
Photography opportunities
Read about where you are
Meals
Avoid a tight same-day international connection - build buffer for muddy trails, gate procedures, traffic and fatigue. A post-trek hotel night is often more comfortable than connecting directly after the mountain. Dinner is not included unless a post-trek
Safari Highlights 12 reasons this trip stands out
-
A private mountain team dedicated to your party, led by a professional Kilimanjaro guide
-
The scenic western approach through forest and the Shira Plateau before joining the Southern Circuit
-
Supported camp setup with expedition tents, dining setup, meals and porterage
-
Park fees, camping fees and the mountain rescue fee included in the quoted package
-
Daily pace management, hydration reminders and altitude-symptom checks by the guide team
-
An acclimatization-oriented climb-high, sleep-lower day via Lava Tower before Barranco
-
The Barranco Wall and southern traverse, with changing views of Kibo and Mawenzi
-
A pre-dawn summit attempt toward Stella Point and Uhuru Peak, subject to weather and safety
-
Private road transfers between Arusha and the mountain gates
-
Photography opportunities from rainforest to alpine desert, glaciers and summit sunrise
-
Responsible trekking: follow guide instructions, stay on designated trails and respect porter welfare and park rules
-
Optional post-climb safari, Zanzibar extension or an additional acclimatization day
Included
- Private Kilimanjaro trek organization for the booked party
- Professional English-speaking lead mountain guide and the required support crew based on group size
- Porterage within the stated baggage allowance of the operator
- Mountain cook and prepared meals as stated in the itinerary
- Designated campsite accommodation in expedition tents for six mountain nights
- Camping equipment supplied by the operator as specified in the final gear list
- Kilimanjaro National Park entry, camping and applicable conservation fees
- Mountain rescue fee
- Private transfer from Arusha to Londorossi Gate with trailhead logistics, and Mweka Gate back to Arusha
- Drinking water treatment and provision during the trek according to the mountain operations plan
- Daily trek briefings, pace management and altitude-symptom monitoring by the guide team
- Government taxes included in the final quotation where stated
- Pre-climb briefing and equipment check
- Emergency logistical coordination and descent support within the mountain procedures of the operator
Excluded
- International flights to and from Tanzania
- Tanzania visa and any passport-related costs
- Travel insurance and high-altitude trekking / emergency evacuation insurance
- Medical consultations, prescriptions, vaccinations and personal medications
- Pre-climb and post-climb hotel nights unless specifically included
- Personal trekking clothing, boots, daypack and personal gear not listed as supplied
- Tips and gratuities for guides, porters and the cook
- Alcoholic beverages, soft drinks and personal snacks beyond supplied trek provisions
- Laundry, telephone, Wi-Fi and personal purchases
- Optional private toilet tent, premium sleeping system or rental items unless quoted
- Post-climb safari activities, balloon safari, domestic flights or Zanzibar extension unless booked
- Bank, card-processing or international transfer charges
- Government-imposed fee increases after quotation if not protected by confirmed booking terms
Frequently Asked Questions
What’s the best time of year for this tour?
Dry seasons often offer easier wildlife viewing (Jun–Oct). Green seasons are beautiful and quieter (Nov–Mar).
Can we customize the itinerary?
Yes — add days, change lodges (lodge/camp), or include balloon safaris/cultural visits.
What is the typical group size?
Private tours are just your party with a driver-guide. Shared departures may have 4–7 guests per vehicle.
See it for yourself
A few moments from this safari, filmed on the ground.